To shoot a good Reel you need a phone, a vertical 9:16 frame, soft natural light, clear sound and a strong first second. You do not need a studio or an expensive camera. Most weak Reels fail because of shaky footage, muffled audio and a slow start, and all three are easy to fix.
This guide explains how to shoot Reels step by step: framing, phone settings, light, stabilisation, audio, shot variety, hooks, subtitles, a checklist and a 30-minute batch routine you can repeat every week.
Start with a vertical 9:16 frame
Reels are watched full screen on a phone, so hold the phone upright. The standard size is 1080 by 1920 pixels, an aspect ratio of 9:16. Horizontal footage gets black bars or an awkward crop, and viewers scroll past it.
Keep the subject in the middle and leave breathing room at the top and bottom. Instagram places the caption, buttons and account name over the lower part and the right edge of the screen, so do not put your product, face or text there.
Set up your phone camera
Open the camera and check the video settings before you film. Resolution and frame rate options differ between iPhone and Android models, so look at your own menu rather than copying someone else’s.
- Resolution: 1080p (Full HD) is the safe default. 4K gives more room to crop later but takes more storage and is slower to edit.
- Frame rate: 30 fps for normal footage. Use 60 fps only for slow-motion shots, and do not mix different frame rates on one timeline unless you know why.
- Grid: switch on the camera grid so your horizon and product stay straight.
- Lens: wipe it first. A greasy lens is the most common reason for soft, hazy video.
- Focus and exposure: tap the subject, then lock focus and exposure if your phone allows it, so the picture does not pump while you film.
Instagram recompresses everything you upload, so a clean 1080p file is enough. Spend your effort on light and sound instead of chasing the highest setting.
Use natural light before you buy lamps
Window light is free and flatters almost everything: faces, food, flowers, fabric. Stand facing the window, or place the subject beside it, and keep the window in front of the subject, not behind it. A bright window behind a person turns them into a dark silhouette.
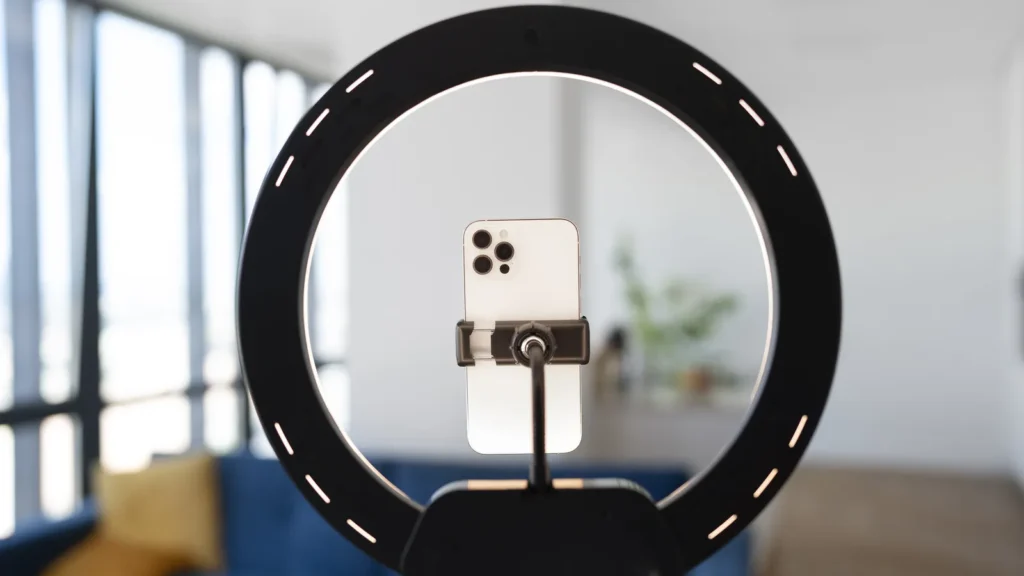
Artificial lamps help in the evening or in a windowless room. Use one soft light, ideally from the side and slightly above, and avoid mixing warm and cool bulbs in the same shot because the colours will look off.
Keep the phone steady
Shaky footage looks careless even when the idea is good. A small tripod or a stack of books costs almost nothing. For walking shots, hold the phone with both hands, keep your elbows close to your body and take short, soft steps.
Your phone’s built-in stabilisation helps, but it also crops the frame slightly in some modes. Do a short test clip so you know how much space you actually get.
Record clean audio
Viewers forgive average video, but they leave when they cannot hear you. Film in a quiet room, switch off fans and music, and stay close to the phone. Soft furniture and curtains reduce echo; an empty hall makes your voice sound hollow.
If you speak on camera often, a cheap lavalier (clip-on) microphone is the best first purchase. Check that it matches your phone’s charging port or the adapter you own.
Equipment: free, cheap or pro
| Item | Free | Cheap | Pro |
|---|---|---|---|
| Stabilisation | Books or a shelf | Small tripod | Gimbal |
| Light | Window | One desk or ring lamp | Softbox set |
| Audio | Quiet room | Clip-on lav mic | Wireless mic system |
| Camera | Your phone | Clip-on lens | Mirrorless camera |
Shoot A-roll and B-roll
A-roll is the main shot: you talking to the camera or the main action. B-roll is the cutaway footage that covers it: close-ups, hands working, the product, the street outside, the finished result. Mixing both makes a Reel feel alive and lets you hide mistakes when editing.
Aim for three kinds of shot: wide (the place), medium (the person or action) and close (the detail). Change the angle every two to three seconds and the video will not feel flat.
Build the hook and subtitles into the shoot
The hook is the first one to three seconds. Show the result, a surprising detail or a clear question straight away. Skip long greetings and logos. Film two or three versions of the opening line and keep the strongest one.
Many people watch without sound, so add subtitles. Leave the lower third of the frame free of important details and speak in short sentences, which makes captions easier to read and to generate automatically.
A simple shooting checklist
- Wipe the lens and check storage and battery.
- Switch on flight mode or do not disturb so calls do not interrupt.
- Set vertical 1080p at 30 fps and turn on the grid.
- Check light and background: no clutter, no window behind you.
- Test the sound with a ten-second clip and listen with headphones.
- Film the hook first, then the A-roll, then the B-roll.
- Hold each shot for a few extra seconds before and after the action.
- Review the clips on the spot before you pack up.
A 30-minute batch-shooting routine
Batch shooting means filming several Reels in one session instead of one at a time. It saves setup time and keeps your look consistent. Plan three Reels in advance, then follow this rhythm.
- Minutes 0 to 5: set up the light, tripod and background, and test the sound.
- Minutes 5 to 15: film all the talking shots (A-roll) for the three Reels in the same outfit and spot.
- Minutes 15 to 25: film B-roll: close-ups, the product, the place, hands at work.
- Minutes 25 to 30: film extra hooks and endings, and delete obvious failures.
Common mistakes to avoid
- Filming horizontally and cropping later.
- Starting with a greeting or logo instead of a hook.
- Shooting with a bright window behind you.
- Recording in a noisy cafe or near traffic when you need to speak.
- Using only one angle for the whole video.
- Covering the bottom of the frame with important text.
- Skipping the test clip and discovering bad sound after the shoot.
Once you can film clean footage, the next step is a steady plan: ideas, a shooting day and an editing routine. If you want help with Reels for your business, or want to learn the whole process hands on, the Setup Marketing team can guide you.
Frequently asked questions
What phone settings are best for Reels?
Vertical video at 1080p and 30 fps is a safe choice for most Reels. Use 60 fps only for slow motion, and check your own camera menu because options differ by model.
Do I need a microphone to shoot Reels?
Not always. A quiet room and a close phone can be enough, but if you speak on camera a lot, a cheap clip-on microphone clearly improves the sound.
How long should a Reel be?
There is no single rule. Keep it as long as the idea needs and cut every second that adds nothing. Many business Reels work well when they are short and focused on one point.
Should I use the front or back camera?
The back camera usually gives better quality, so use it when you can with a tripod or a helper. The front camera is fine for quick talking clips if the lens is clean and the light is good.
How many Reels can I film in one session?
Three to five simple Reels in about 30 to 60 minutes is realistic once you plan the ideas, outfits and locations beforehand.
Read next
- 25 Reel Ideas and Hooks for Business Pages
- Best Video Editing Apps for Reels and TikTok in 2026
- CapCut Tutorial for Beginners: Edit Your First Reel in 15 Minutes
Want this done for your business? SMM services in Armenia